
7 Sod Installation Mistakes Tampa Bay Homeowners Make (And How to Avoid Them)
The 7 sod installation mistakes Florida homeowners make most, what each one looks like weeks later, and how our Tampa Bay crews avoid every one.
The most common sod installation mistakes Florida homeowners make are not exotic, and none of them show up on install day. They are the same handful of shortcuts we find every time someone calls us to rescue a browning lawn in Riverview a month after another crew laid it. The grass looked perfect when the last square went down. Then the seams opened. The low corner held water, and half the yard went khaki by the third week.
We install sand-bottom sod across Hillsborough and Manatee, and we run the same checklist on every job. Here is what actually goes wrong on the ground, in the order it costs you the most, whether you lay it yourself or stand over a contractor watching the work.
Where sod installation mistakes in Florida actually start
Almost every failure traces back to something you cannot see once the grass is down. A tight seam looks identical over good dirt and bad dirt on day one. Ninety days later, one is a lawn and the other is a patch job. Fresh-cut sod is a living crop with a few days of stored energy in it, so the window to get the fundamentals right is short.
One thing to settle up front. There is no wrong season for this in our climate. The 2023 USDA map places Tampa Bay in zones 9b through 10a, warm enough that our St. Augustine and zoysia keep growing year round (UF/IFAS). What changes with the calendar is the watering.
Mistake 1: Laying fresh sod over the old lawn
New roots have to reach soil, not sit on a mat of dead grass. When a crew lays fresh squares straight over the old turf and its thatch to save a few hours, that buried layer becomes a barrier. It traps water and rots underneath while the top still looks green.
Done right, the old lawn comes out down to clean dirt before anything new touches the ground. The spray-and-sod shortcut is worse than it sounds. A non-selective herbicide needs several days on the label before sod goes down, and the dead material still has to be raked out, so the same-afternoon version sends old runners right back up through your new grass. We would rather cut it out. Our full soil preparation process walks through the sequence step by step.
Mistake 2: Skipping the grade, then fighting standing water for years
This is the step that decides drainage, and it is the first thing a cheap bid drops. In a place that takes a summer of afternoon storms, a yard that pitches water toward the slab instead of away from it is a fungus problem waiting for June.
UF/IFAS recommends a fall of roughly 1 to 2 percent away from structures, and reminds installers to account for the thickness of the sod itself when setting the final grade (UF/IFAS ENH02/LH012). That last part catches people. Sod adds height. Grade the dirt flush to a walkway and the finished lawn ends up an inch proud of it, so water runs backward and pools. We hand-grade because a rake reads the low spots a machine rolls straight over.
Mistake 3: Leaving wide seams that dry from the edges in
Sod goes down brick-style. Stagger the joints so they never line up row to row, and push every piece tight against the next. Gaps open a channel for weeds and expose cut edges that dry faster than the rest of the square. Those are the thin brown lines running through a patchy install six weeks on. On a slope, run the rows across the grade so nothing slides before it roots.
Mistake 4: Never rolling, so the roots meet air instead of soil
Rolling is the step DIY installs skip most, and it is the quiet reason a lawn establishes slow. Pressing the sod into the bed with a weighted roller closes the air pockets under each square and forces the roots into direct contact with the soil. Skip it. Those pockets dry out first, leaving soft, spongy spots that lag behind everything around them (Bethel Farms).
You feel the difference underfoot. Rolled sod is firm the day it goes down. Un-rolled sod squishes, and a tug at the corner lifts it clean off dry dirt. A water-fillable roller is cheap to rent, and on our jobs it is not optional.
Mistake 5: Letting the pallet sit before the watering clock starts
Fresh-cut sod is on a timer the moment it leaves the field. Stack it on the driveway in July, walk away for the afternoon, and the inner squares heat up and yellow before they ever get laid. This is the mistake that ruins good grass through no fault of the grass.
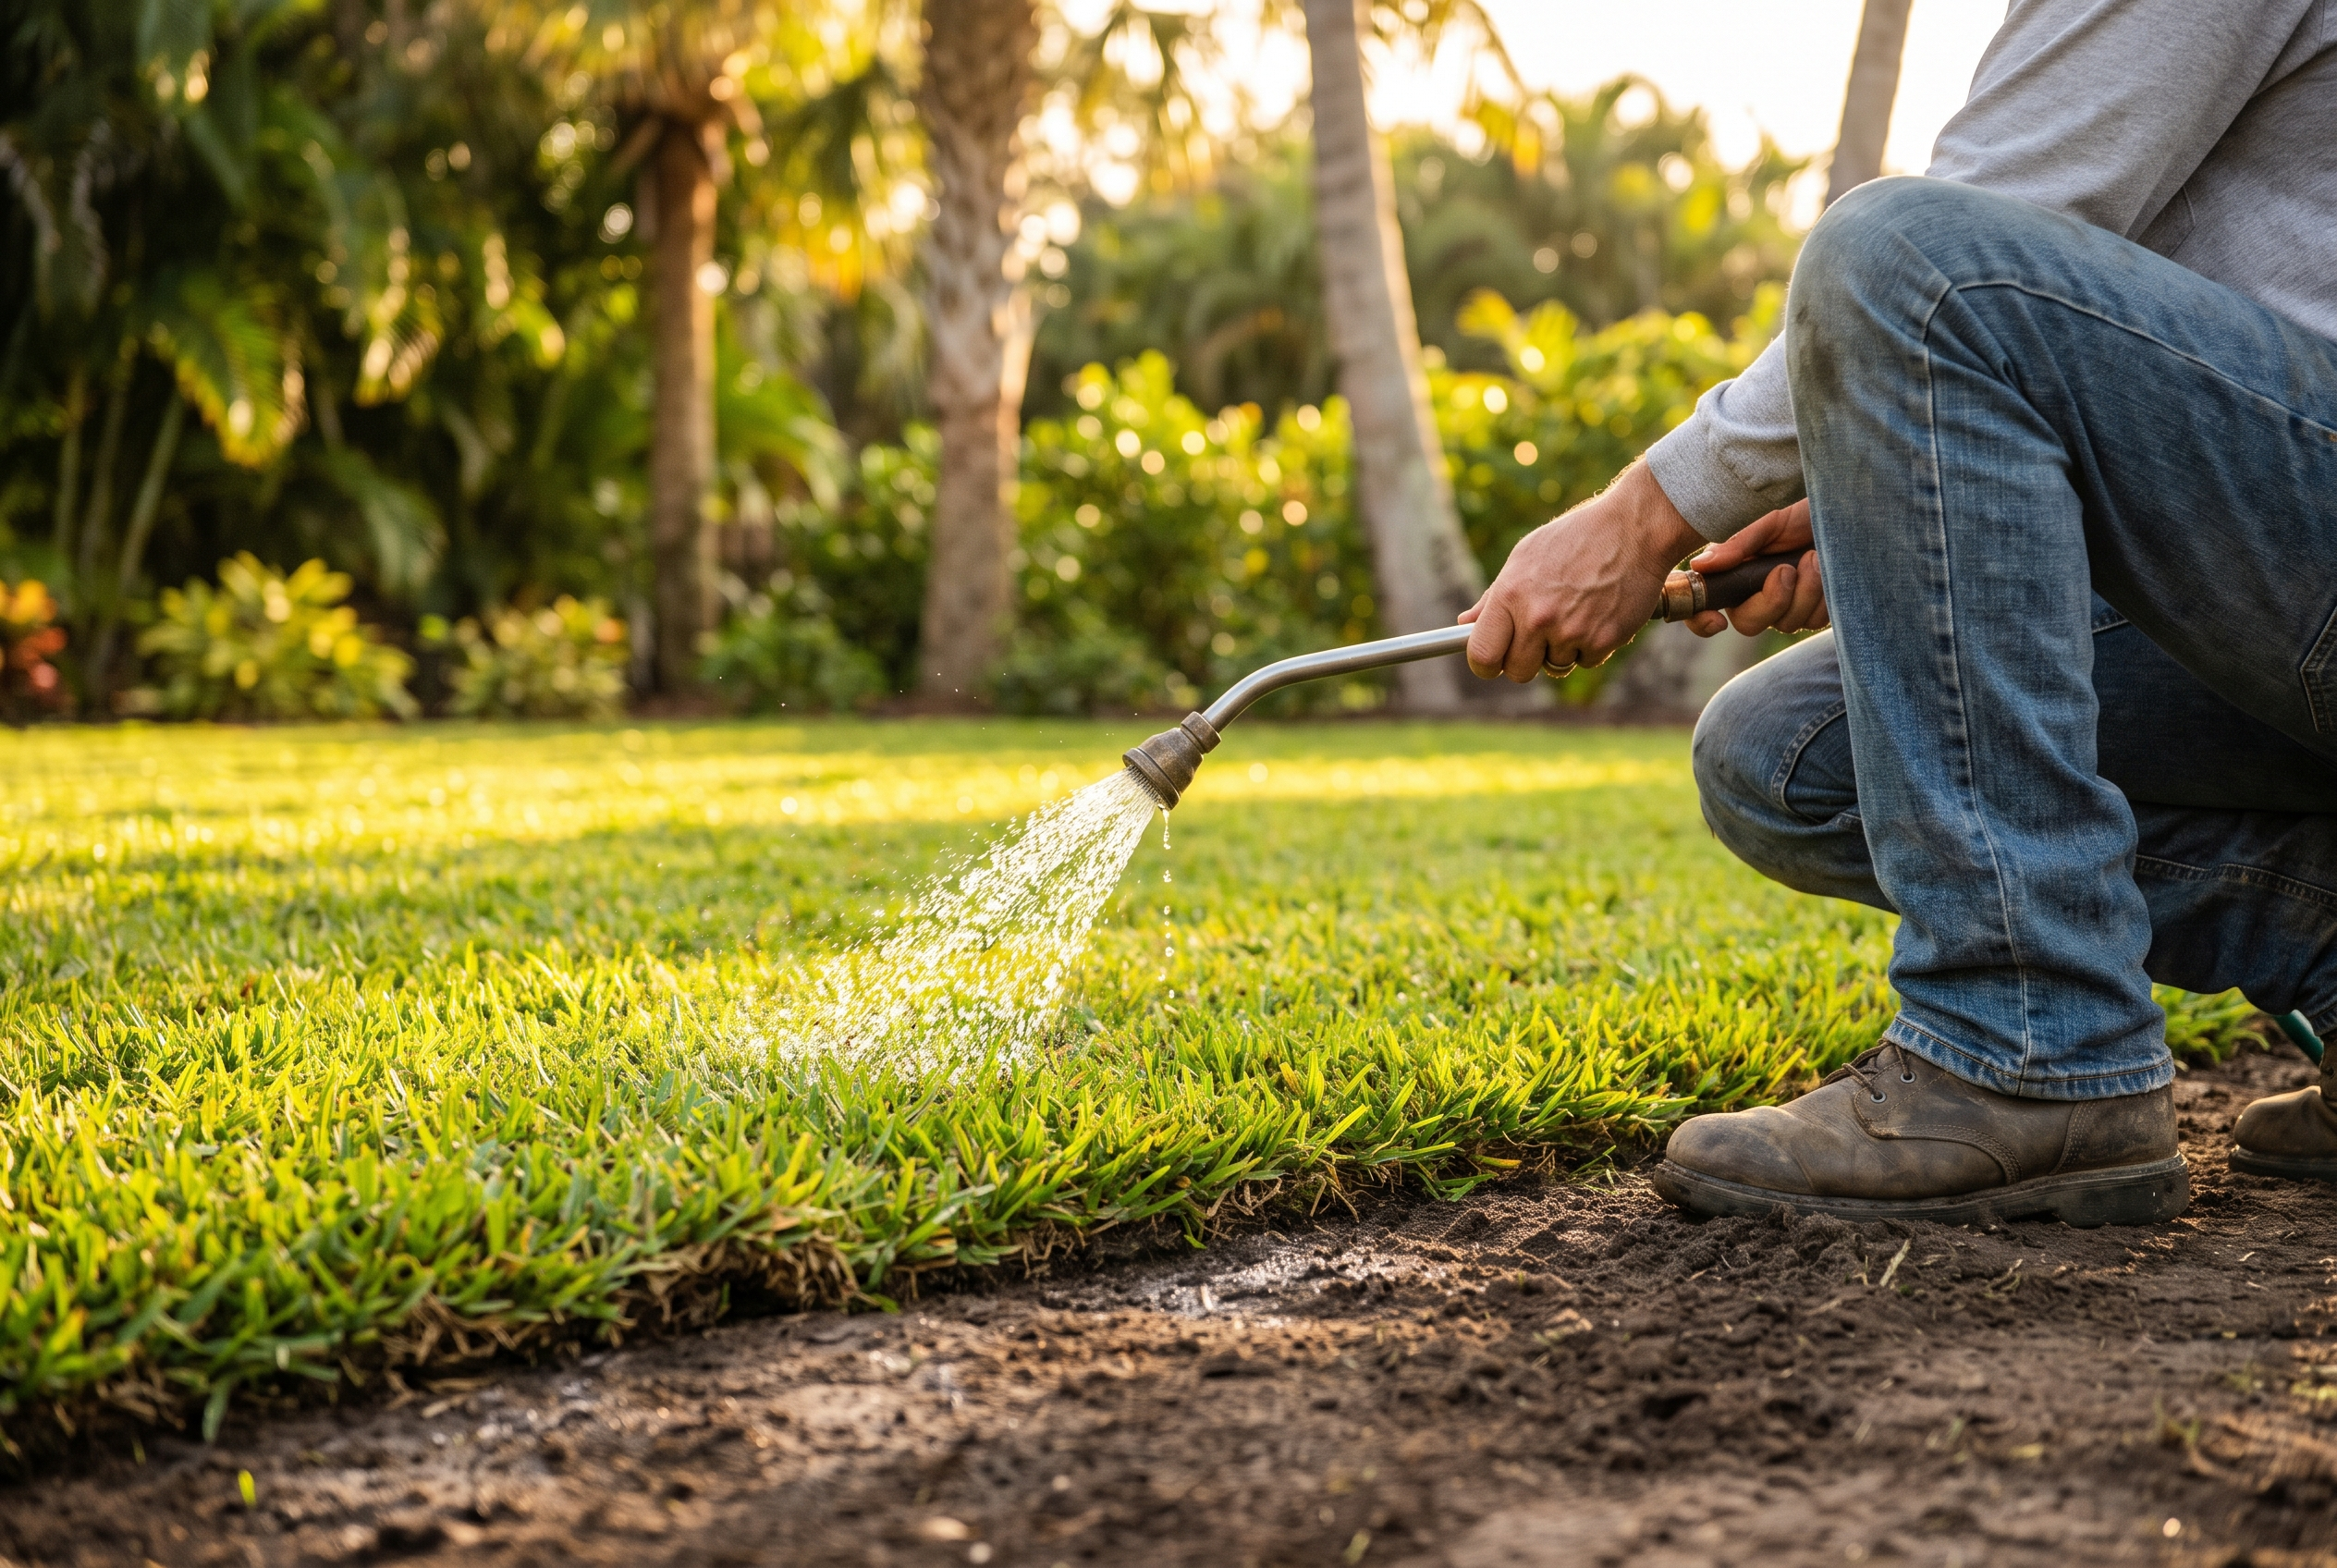
Two rules keep it alive. Lay what arrives the same day it arrives, and get water on each section fast. UF/IFAS is direct: the roots have to be kept moist to peg down, which takes about 7 to 10 days once they make soil contact (UF/IFAS ENH03/LH013). We soak the sod and the top few inches of soil the moment the last square is down. Here is the taper we hand every homeowner:
- Days 1 to 10: keep the top inch damp, usually a light cycle once or twice a day in our sandy soils.
- Days 10 to 21: as roots grab, pull back toward one longer cycle, then every other day.
- Days 21 to 30: stretch the gaps and start reading the grass instead of the clock.
Your county gives new sod a 60-day establishment window that sits outside the normal restrictions, so watering this hard early is legal (SWFWMD). We break down the county-by-county timing in our guide to watering new sod under Tampa Bay irrigation rules.
Mistake 6: Matching the grass to the price instead of the site
Buying whatever is cheapest, or whatever the neighbor put in, is how a shaded side yard gets sun-loving grass that thins out by fall. The variety has to fit the light, the traffic, and the soil it is going into. A north-facing yard under oaks and a wide-open front lawn are two different jobs.
This is also where the muck-versus-sand question matters. Sod grown on sandy soil roots faster into Central Florida’s sandy ground and drains better through heavy rain, which is why we install sand-bottom sod. Our project managers walk the site and match the grass to the conditions before anyone orders a pallet. If you are weighing the work yourself, our DIY vs professional sod installation breakdown lays out where the trade-offs really are.
Mistake 7: Mowing, feeding, or backing off the water too soon
The last mistake happens after the crew leaves. New sod is not an established lawn, and treating it like one in week two undoes the first three. The roots are still pegging down. A low mow or an early jolt of fertilizer sets them back.
Wait until the sod resists a firm tug before the first mow, keep it high, and hold off on fertilizer until the grass is clearly growing on its own. Above all, do not cut the water at day fourteen because the top looks fine. The blades establish before the roots do. Our first 30 days of new sod care covers the whole handoff week by week.
None of these are hard to avoid once you know where installs actually go wrong. If you would rather have a crew run the full checklist on your yard, we are local and family-owned, and we are happy to walk your site and tell you straight what it needs.

Fresh-cut sod installation, replacement, and delivery in the Tampa Bay area.
Continue reading

DIY Sod Installation vs. Hiring a Pro in Tampa Bay: What Florida Homeowners Should Really Know
DIY or professional sod installation in Tampa Bay? Here is the real cost, the grower's own warning, and the three prep steps that decide if sod lives.

Soil Preparation for Sod Installation in Florida: Why Grading and Prep Make or Break Your Lawn
Soil preparation for sod installation in Florida decides whether new sod roots or fails. Here is the grading and prep work our crews do before the first pallet.
Sod Warranty in Florida: Why It Won't Save Your Lawn
The truth about a sod warranty in Florida: why sod is a living product, why guarantees are often gimmicks, and what actually protects your new lawn.